Start your DIY closet transformation by measuring your space and sketching a scaled plan. You’ll need basic tools like a drill, circular saw, and level. Choose cost-effective materials such as 3/4″ MDF or plywood sheets, which typically cost around $100 total. Install a sturdy 2×4 base, then work systematically from top to bottom with vertical supports and storage components. Double-hang rods and floor-to-ceiling shelving can increase your storage capacity by up to 50%. Our detailed guide breaks down every step of creating your perfect custom closet.
Planning Your Dream Closet Layout
Before diving into your closet transformation, careful planning and precise measurements lay the foundation for a successful DIY project. Start by measuring your space thoroughly, including wall lengths and ceiling height. Create a scaled sketch where 1 cm equals 2 feet to guarantee accurate planning and material estimation. Consider incorporating clever organizers to maximize every inch of available space.
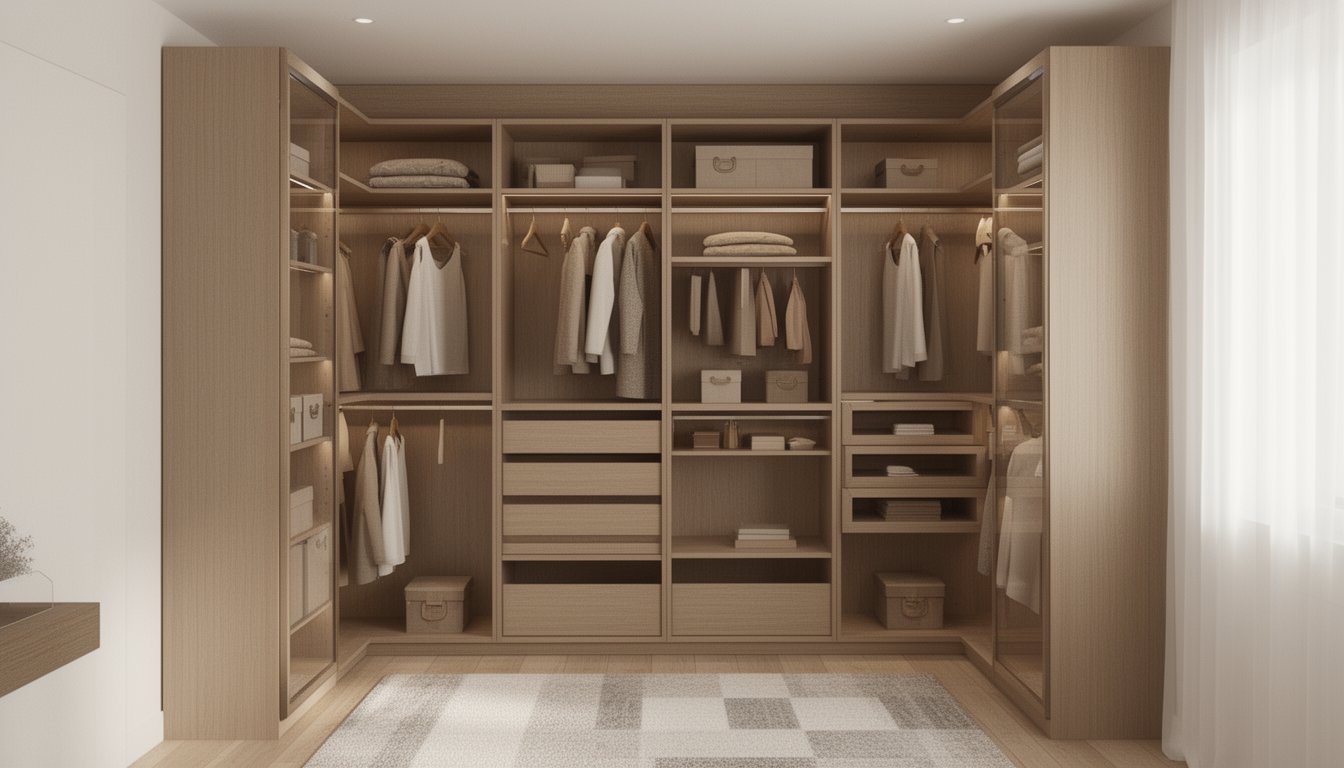
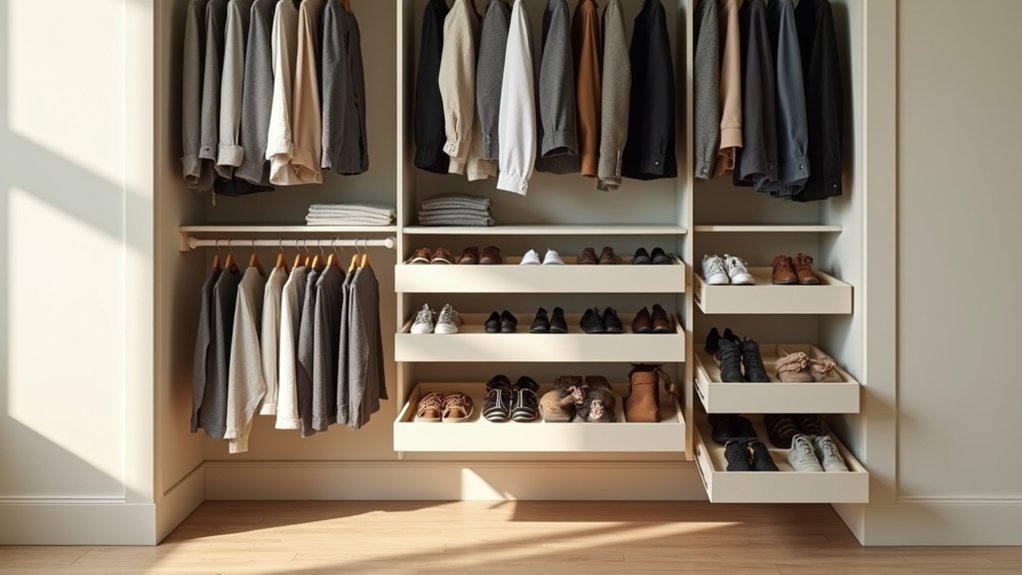
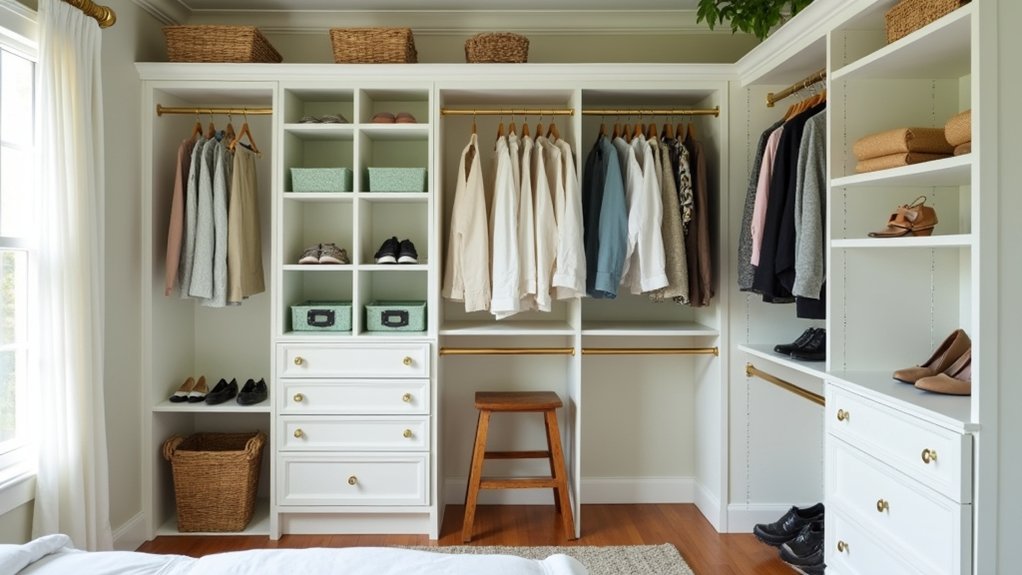
For ideal space utilization, analyze your clothing inventory to determine the right mix of storage components. Plan to include a seating area if your closet dimensions allow for a more luxurious setup. Consider installing shoe racks that accommodate both flats and boots with varying heights and widths. You’ll need to take into account the ratio of double-hang to single-hang areas, with most reach-in closets requiring 60-85% double-hang space. Account for door swings, outlet locations, and window positions to avoid design aesthetics issues. Don’t forget about corner spaces, which can only serve one side effectively. Plan vertical zones strategically, placing less-used items on higher shelves and frequently accessed items at eye level.
Essential Tools and Materials Checklist
You’ll need a core set of power tools for your DIY closet project, including a circular saw, drill/driver, and brad nailer for basic cutting and assembly operations. When selecting materials, opt for budget-friendly 3/4″ MDF or plywood sheets instead of solid wood, and consider using iron-on edge banding rather than expensive trim pieces. Don’t forget essential measuring tools like a tape measure, level, and stud finder to guarantee accurate installation and secure mounting to your walls. Creating a detailed cut list before starting will help maximize material usage and minimize waste. This project can save you significant money, as building it yourself costs around $2000 compared to professional installation quotes. Starting with a 2×4 base secured to both floor and wall studs will create a solid foundation for your custom closet structure.
Basic Tool Requirements
When starting on a DIY custom closet project, having the right tools and materials readily available will streamline your build process and guarantee professional-quality results. You’ll need measuring tools for precise planning, cutting equipment for material preparation, and assembly tools for putting everything together. Following Dakota Closet Systems’ specifications will ensure you have all components needed for a successful installation. Since working alone with full sheets of plywood can be dangerous, it’s crucial to have a circular saw with guide for safe and accurate cuts. Remember to practice tool safety and maintain your equipment in top condition.
For ideal project execution, verify you’ve got these basic setups ready:
- A dedicated workspace with proper lighting and ventilation, where you can safely operate power tools and store materials
- A sturdy workbench or table for precise cutting and assembly, equipped with clamps and a non-slip surface
- A well-organized tool storage system that keeps everything within reach while maintaining tool maintenance standards
Focus on acquiring essential tools first, then add specialized equipment as your project demands grow.
Cost-Effective Material Options
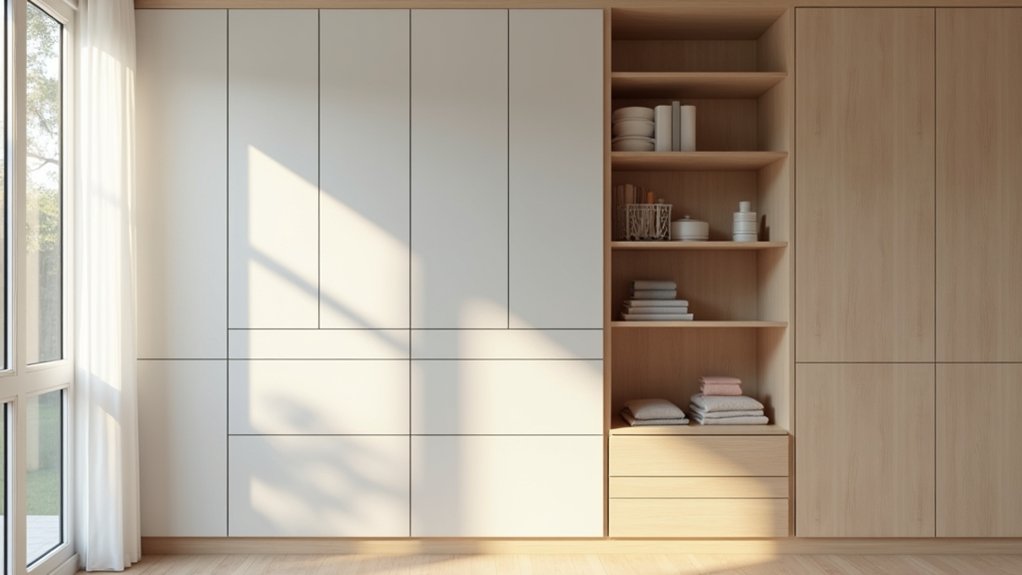
Selecting the right materials makes all the difference between a budget-friendly custom closet and an expensive undertaking. MDF advantages include affordability and stability for core structures, while plywood durability shines in shelving and dividers. You’ll need just two sheets of 3/4″ Baltic birch plywood to build a basic closet for around $100. A complete transformation can be achieved for total project cost of approximately $120, making it highly accessible for most budgets.
Working within budget constraints, consider using pre-cut white shelving boards at $8.98 each or adapting an Ikea Billy Bookcase as your base. For eco-friendly options, repurpose scrap plywood or MDF as shelf supports. A complete project using five MDF boards can transform your closet organization for approximately $75 in lumber costs. DIY techniques like using edge banding and wood glue strengthen your build while maintaining a professional look. Save money by buying materials in bulk and using cut optimization tools to minimize waste. Standard closet rods and brackets provide reliable support for under $15 per section.
Budget-Friendly Material Options
Three main categories of budget-friendly materials stand out for DIY closet projects: wood-based products, melamine/laminate options, and wire systems. You’ll find sustainability options in plywood and MDF, which provide durability at moderate prices. For innovative designs, consider mixing materials like melamine-coated particleboard for cabinets with wire shelving for visibility and airflow. Selecting materials that are easy to maintain will ensure your closet system stays functional for years to come.
Mix affordable materials like plywood, melamine, and wire systems to create custom closet solutions that combine durability with modern design flexibility.
- Baltic birch plywood sheets transformed into sleek, custom-sized shelving units with crisp edge-banding
- White melamine boards creating bright, wipe-clean surfaces that mimic high-end cabinetry
- Modular wire systems offering adjustable configurations while maintaining proper ventilation
You can enhance any of these materials with primers, paints, or stains to achieve a high-end look. Remember, big box stores often provide free cutting services, helping you maximize your materials while minimizing waste.
Step-by-Step Assembly Guide
First, you’ll need to gather essential tools including a level, stud finder, drill, and screwdrivers, along with your pre-cut materials and hardware components. Your wall preparation begins with marking stud locations, removing baseboards, and patching any wall damage that could interfere with proper installation. For added security during the build, consider implementing access controls to protect your workspace from potential hazards. Once the walls are ready, you’ll install your vertical supports and storage components systematically, working from the top down to guarantee everything remains level and secure throughout the assembly process. The entire project can typically be completed in about four days with proper planning and execution.
Gather Tools and Materials
Before diving into your custom closet project, gathering the right tools and materials will guarantee smooth, efficient assembly. Your tool selection tips should focus on essential power tools: a reliable table saw or circular saw for precise cuts, a brad nailer for secure assembly, and a power drill with impact driver for hardware installation. When it comes to material sourcing strategies, opt for 3/4″ plywood, MDF, or melamine as your core material based on your budget and desired finish. Consider maintaining a 12-inch clearance from the wall when installing hanging rods for optimal clothing storage.
- Ascertain your workspace has adequate lighting and power outlets for efficient tool operation
- Organize materials by type and intended use, keeping hardware separated in labeled containers
- Stage your tools in order of use, with safety equipment readily accessible
Remember to store your materials in a dry area and have them pre-cut if transportation is a concern.
Wall Preparation Steps
Preparing your closet walls properly will make or break the success of your custom storage system. Start by removing everything from the space, including existing hardware and shelving. You’ll need a clean slate to assess the wall condition accurately.
Once cleared, thoroughly clean all surfaces and check for damage. Your best bet is to sweep and mop the entire floor area first. Address any water stains, mold, or structural issues immediately. Use spackle to patch holes and sand smooth once dry. For accurate installation, mark your studs with a stud finder and draw level guidelines where you’ll mount supports.
Don’t skip the finishing touches, prime repaired areas, and consider a fresh coat of paint. Let all surfaces cure completely before installation. Remember to check for out-of-square walls and secure any loose baseboards, as these details can affect your system’s final fit and stability. Taking time to sort your items into keep, donate, and trash piles while the walls dry will help streamline the organization process later.
Installing Storage Components
With your walls properly prepped, it’s time to bring your custom closet vision to life through systematic component assembly. Begin with shelf installation by securing vertical panels to create your framework, then attach cam shelves using locking fasteners. Once your basic structure is stable, focus on rod placement by installing brackets at appropriate heights for your hanging needs.
- Picture clothing neatly arranged on smooth-gliding rods with plastic sleeves that prevent wear and guarantee hangers move effortlessly
- Envision adjustable shelves that can be easily reconfigured as your storage needs change over time
- Imagine drawers sliding smoothly on quality hardware, with pull-out hampers and baskets maximizing every inch of space
Finally, secure all components to wall studs and add finishing touches like corner brackets and trim pieces for a polished, professional look.
Smart Storage Solutions and Organization Tips
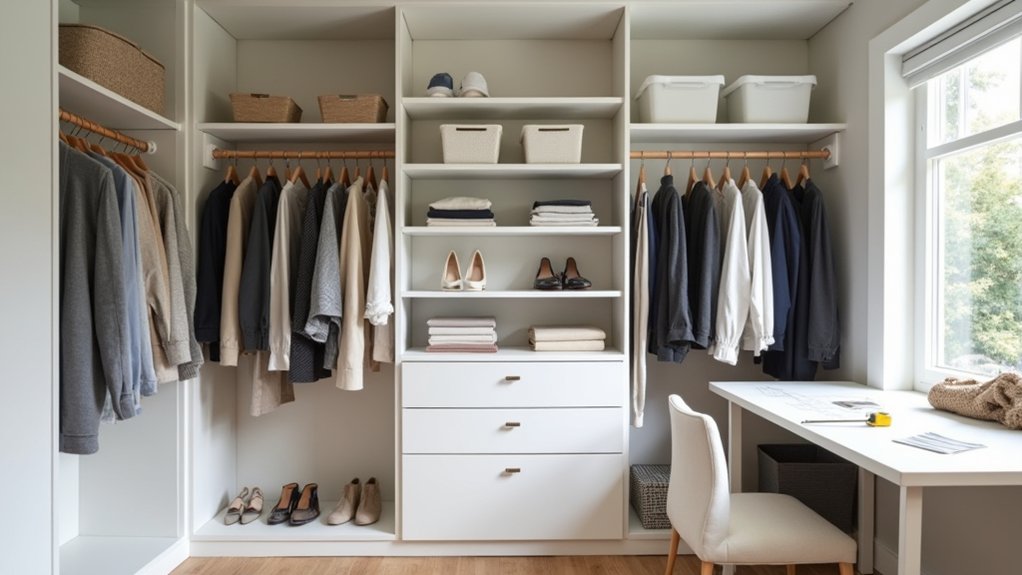
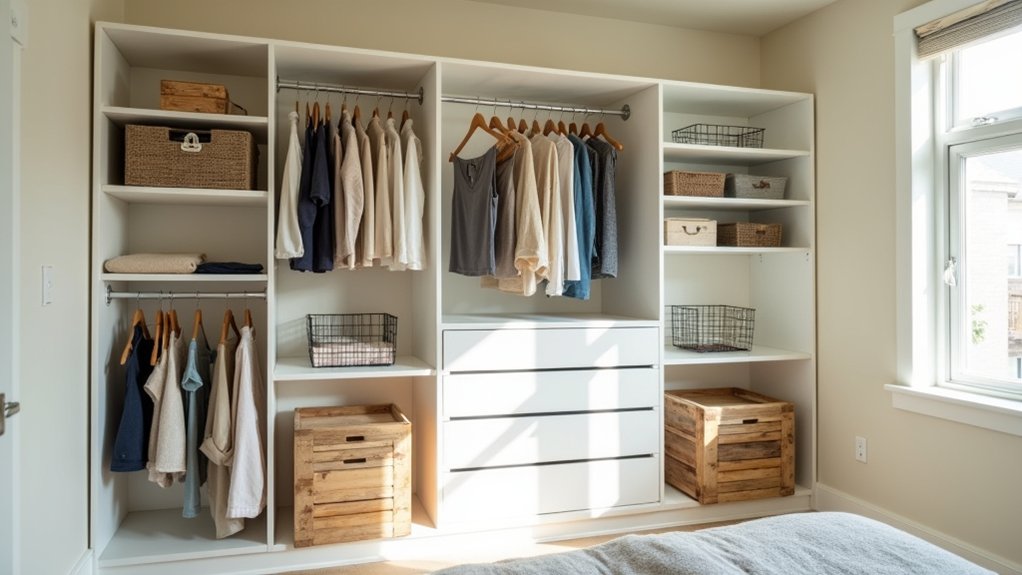
Smart storage solutions transform even the most basic closet into an efficient organizational system that maximizes every inch of available space. You’ll want to start by implementing double-hang rods to increase your clothing capacity by 30%, while using floor-to-ceiling shelving to capture up to 50% more storage space. Install transparent bins with clear labels to quickly identify items, and use drawer dividers to keep small accessories organized.
Make the most of awkward spaces by adding corner shelves and under-shelf baskets. You can multiply storage capacity by mounting hooks and pegboards on closet doors for accessories. Group your clothes by type and frequency of use, and consider color-coding your organization system. For enhanced visibility, add LED lighting to illuminate dark corners and deep spaces.
Money-Saving Tricks for Custom Features
Creating a luxurious custom closet doesn’t require breaking the bank when you leverage strategic material choices and modular components. You’ll get high-end appeal using melamine boards and laminate shelving instead of expensive hardwoods, while maintaining durability. Start with essential features like double-hanging rods and adjustable shelves, then plan for budget upgrades over time as your finances allow.
Strategic material choices and modular components let you create an elegant custom closet without the luxury price tag.
- Install wall-mounted tracks now to easily add custom accessories like pull-out baskets and shoe racks later
- Choose white finishes and basic hardware for a clean, professional look that won’t strain your wallet
- Maximize corners with continuous rods and open shelving to increase usable space without extra cost
For the biggest savings, opt for DIY-friendly modular systems that you can install yourself, and source materials during sales at home improvement stores. Skip decorative trim and built-in lighting to keep costs down while maintaining functionality.
Common Mistakes to Avoid
While enthusiasm for a DIY closet project can be exciting, avoiding common pitfalls will save you time, money, and frustration during the renovation process. Key design pitfalls include insufficient planning, poor lighting choices, and inflexible storage strategies.
Don’t skip measuring your space precisely, inaccurate dimensions can derail your entire project. You’ll need to account for proper shelf depth, rod placement, and vertical space utilization. Consider installing adjustable components that’ll adapt to your changing needs, and don’t compromise on material quality, as cheap materials often lead to costly repairs.
Ensure you’re incorporating adequate lighting solutions, including LED strips or puck lights for dark corners. When planning storage strategies, remember to purge existing items first and leave room for future growth. Double-check that your shelving depths accommodate your items without overhang.
Adding Style on a Shoestring
Once you’ve mastered the basics of closet organization, it’s time to focus on aesthetic elements that won’t break the bank. Transform your space with peel-and-stick wallpaper to create a stunning feature wall, or add creative lighting using battery-powered LED strips and tap lights for a high-end illuminated look. You’ll find that affordable artwork, whether DIY prints or craft-inspired pieces, can personalize your closet while maintaining a designer feel.
- Layer your lighting with self-adhesive LEDs under shelves, battery-operated tap lights in dark corners, and stick-on strip lights behind hanging rods
- Group clothing by color to create visual impact, adding clear shelf dividers to maintain boutique-style organization
- Mix textures with woven baskets, velvet hangers, and chic fabric bins in coordinated colors for a luxe appearance
Maintenance and Future Modifications
To guarantee your custom closet remains functional and beautiful for years to come, you’ll need to establish consistent maintenance routines and plan for future adaptability. Start with weekly dusting and vacuuming, and schedule deep cleanings every six months. During regular maintenance, inspect hardware for wear and tighten loose components.
Combat moisture issues by promoting proper airflow and using moisture absorbers in corners. You’ll want to protect your investment by avoiding harsh cleaners and preventing structural strain from overloaded shelves. For future upgrades, opt for adjustable systems and modular organizers that you can easily reconfigure. Keep spare hardware handy and maintain clearly labeled storage solutions. Remember to declutter regularly and follow the one-in-one-out rule to prevent overcrowding, ensuring your closet system can evolve with your changing needs.
Frequently Asked Questions
Can I Install a Custom Closet System in a Rental Apartment?
While rental restrictions typically prohibit permanent installations, you’ve got several renter-friendly closet alternatives. Instead of drilling or mounting fixtures, opt for freestanding wardrobes, tension rod systems, or modular storage units that don’t require wall attachments. You’ll need written landlord approval for any permanent closet systems, but portable solutions let you maximize storage without risking your security deposit. Consider over-the-door organizers and stackable cubes for additional customizable storage.
How Do I Childproof My DIY Closet System for Safety?
To childproof your DIY closet system, start by installing safety locks on all doors and drawers. You’ll want to position dangerous items on high shelves that your children can’t reach. Add soft-close mechanisms to prevent pinched fingers, and secure any loose hardware immediately. Don’t forget to cover electrical outlets near the closet and use rubber bands between handles for extra security. Check all safety features weekly to make certain they’re working properly.
What’s the Best Lighting Solution for a Closet Without Electrical Outlets?
You’ll get the best results with battery-powered LED puck lights that feature motion sensors, eliminating the need for electrical outlets. Mount them strategically: place one above the closet door and additional units in corners or dark zones. For extra coverage, combine them with adhesive LED strips along shelves or rods. Choose rechargeable models to save money on batteries, and you’ll only need to recharge them every few weeks with regular use.
Should I Remove Carpet Before Installing Floor-Mounted Closet Components?
Yes, you should remove the carpet before installing floor-mounted closet components. Carpet removal will give you better stability, prevent sagging, and make future flooring updates easier. You’ll want to protect the subfloor during the process by carefully removing tack strips and staples. This approach guarantees your closet system stays level, secure, and properly aligned over time. Plus, you won’t have to worry about carpet compression or trapped dust beneath your built-ins.
How Much Weight Can DIY Closet Shelves Safely Hold?
Your DIY closet shelf’s weight capacity depends heavily on the shelf material you choose. You’ll get 120-200 pounds from standard wire shelving, 100-200 pounds from 3/4″ plywood or MDF, and only 25-40 pounds from thin utility shelving. For maximum safety, guarantee proper weight distribution and install supports into wall studs every 24-32 inches. Don’t forget to use brackets rated above your intended load, typically 50-100 pounds per pair.