Build your custom closet shelving system by first measuring and sketching your space, ensuring a minimum 24-inch depth and proper walkway clearance. Next, gather ¾-inch cabinet-grade plywood, mounting hardware, and essential tools like a table saw and brad nailer. Clear and prep your space, then install support structures at ideal heights using wall studs. Mount adjustable shelving with 1 1/8-inch pin holes for flexibility. The finishing touches and organizational solutions will transform your storage capabilities considerably.
Planning Your Custom Closet Layout
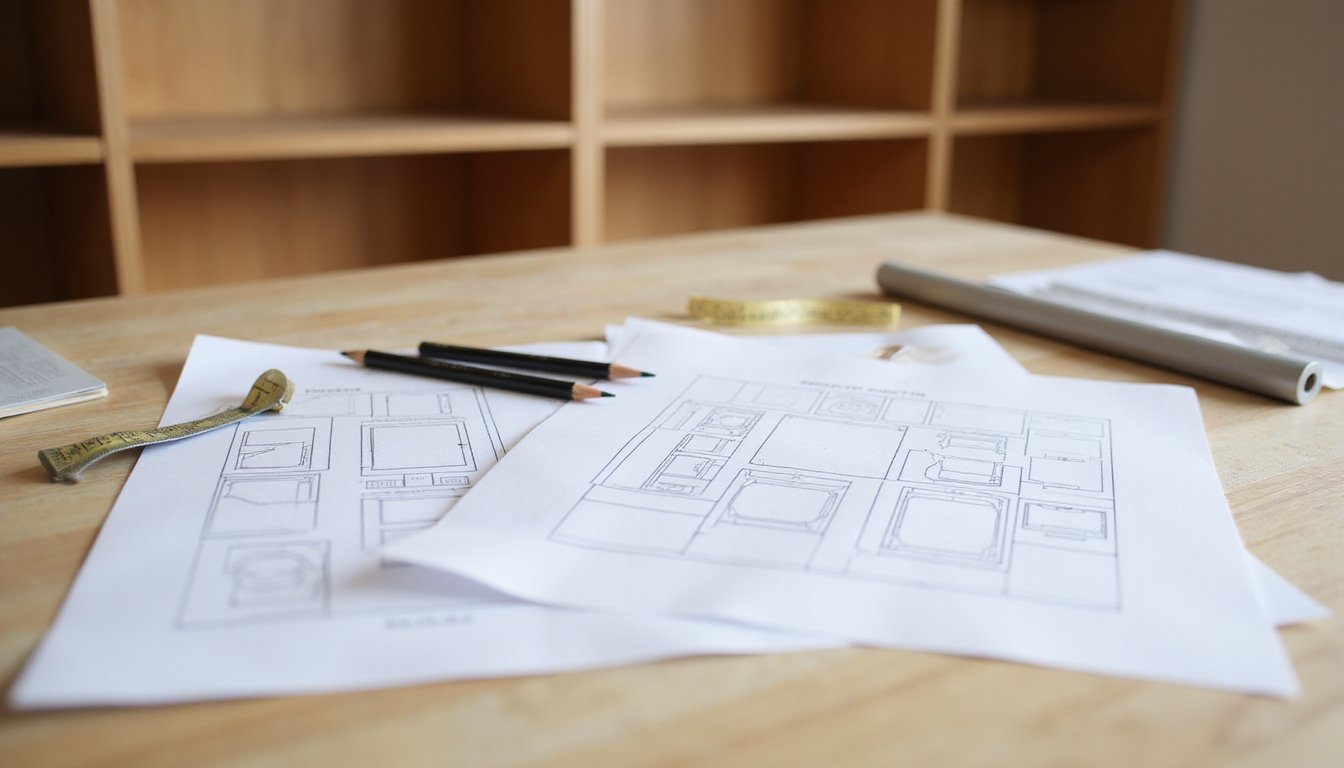
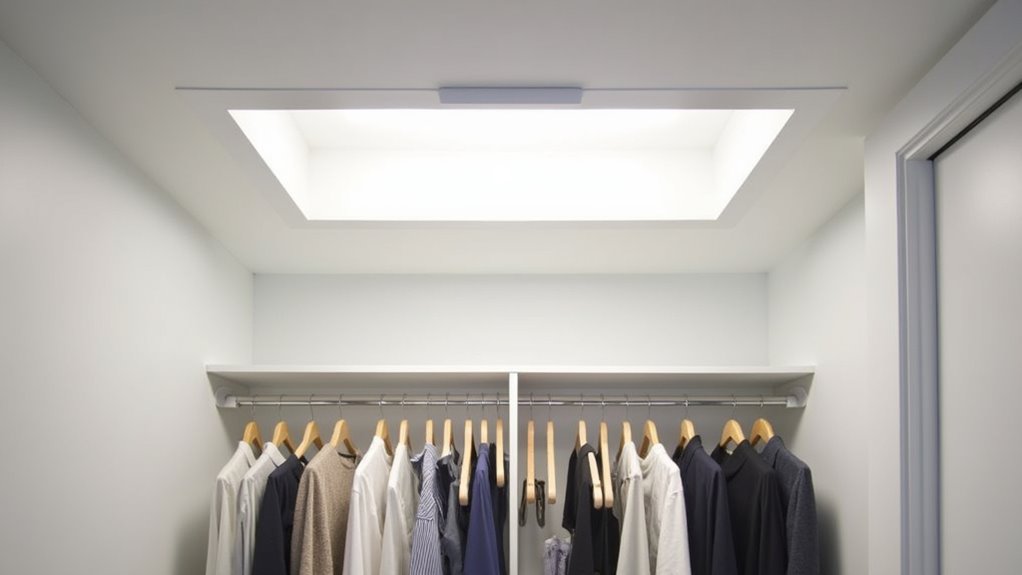
Before starting a custom closet project, thorough planning of your layout serves as the critical foundation for ideal storage efficiency. Begin with a detailed space analysis by measuring your closet’s height, width, and depth, ensuring a minimum 24-inch depth for proper garment clearance. Create a scaled sketch of your walls to visualize the available layout area. Using graph paper for sketching helps create accurate measurements and proportions for your closet design. Consider incorporating a 36-inch walkway if planning to add a closet island for additional storage. Installing accent lighting can enhance visibility and create an inviting atmosphere in your custom closet space.
Conduct detailed inventory organization by categorizing your clothing and accessories. You’ll need to determine the ratio of hanging spaces, considering your wardrobe type – business attire requires more double-hang sections, while formal wear needs single-hang areas. Calculate storage allocation percentages: 15% for long hang, 60-85% for double hang, and 15-30% for shelving. Account for corner spaces and vertical optimization by planning adjustable shelving systems and strategic placement of hanging rods at 84 inches and 42 inches respectively.
Gathering Essential Materials and Tools
With your layout plan finalized, assembling the right materials and tools establishes the foundation for professional-grade closet construction. Begin with material types: select ¾” cabinet-grade plywood for primary shelving, or opt for melamine if you’re seeking a pre-finished surface. You’ll need trim pieces for exposed edges and proper mounting hardware, including shelf pins, brackets, and closet rod supports. Consider using solid hardwood components for areas requiring maximum durability and weight support. Custom closet systems come in a variety of rich color options to match any decor style. Installing clothing rods approximately twelve inches from the wall ensures proper clearance for hangers.
For tool functions, you’ll require a table saw and circular saw for precise panel cuts, a brad nailer for trim work, and an impact driver for secure mounting. Don’t overlook essential measuring tools: a laser level guarantees perfect alignment, while a stud finder locates proper mounting points. Stock up on wood screws, anchors, and wood glue for assembly, and gather finishing materials like edge banding or trim to complete your professional installation.
Preparing Your Closet Space
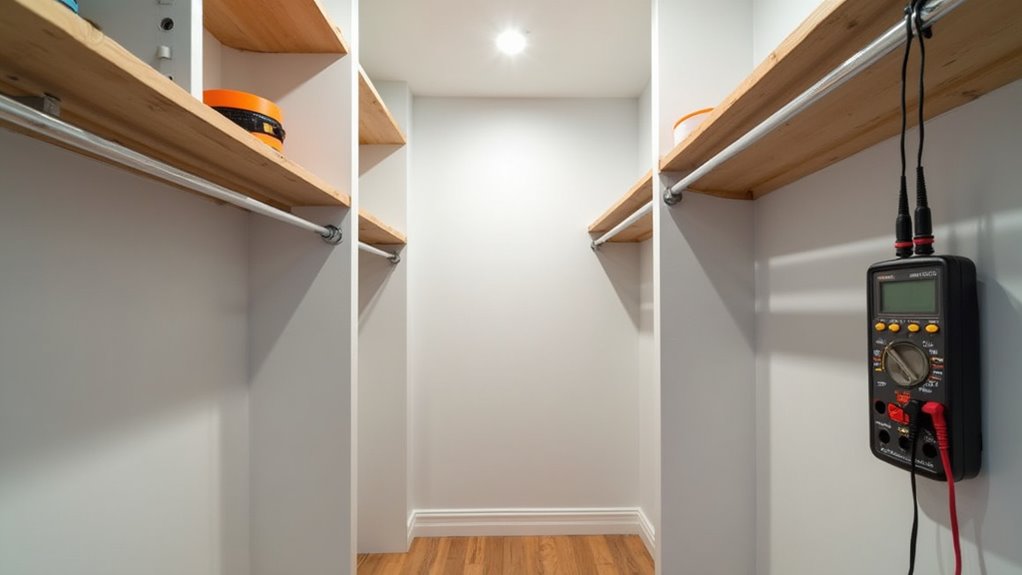
Proper preparation of your closet space sets the critical foundation for a successful custom shelving project. Begin by thoroughly decluttering your existing closet, as statistics show 80% of closet clutter stems from disorganization rather than lack of space. Since research indicates 61% of women struggle to locate their clothing items, effective organization is crucial. Evaluate your specific closet goals and storage needs by conducting a detailed inventory of items you’ll keep, considering both current and future requirements. Consider implementing adjustable shelving with 1 1/8 inch holes to ensure flexibility as your storage needs change over time. With urbanization leading to smaller living spaces, implementing efficient storage solutions has become crucial for space optimization in modern homes.
- Remove all contents and assess the structural integrity of walls, checking for signs of moisture, damage, or areas needing repair
- Take precise measurements of your closet’s dimensions, accounting for doors, corners, and any architectural obstacles
- Map out zones based on usage frequency, ensuring frequently accessed items will be positioned at ergonomic heights while maximizing vertical storage potential
Finally, clean all surfaces thoroughly and repair any wall damage before proceeding with installation.
Installing Support Structure and Shelving
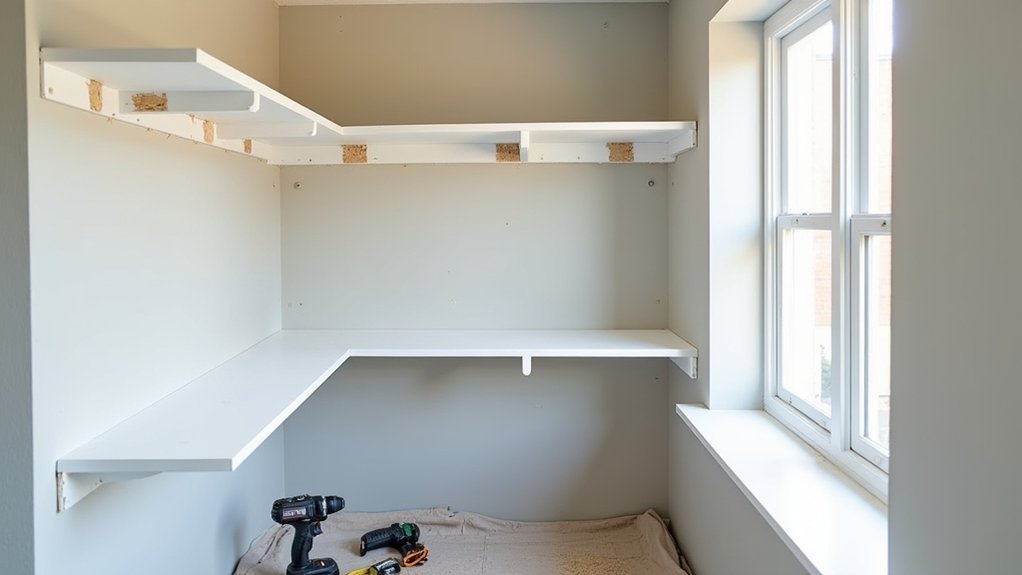
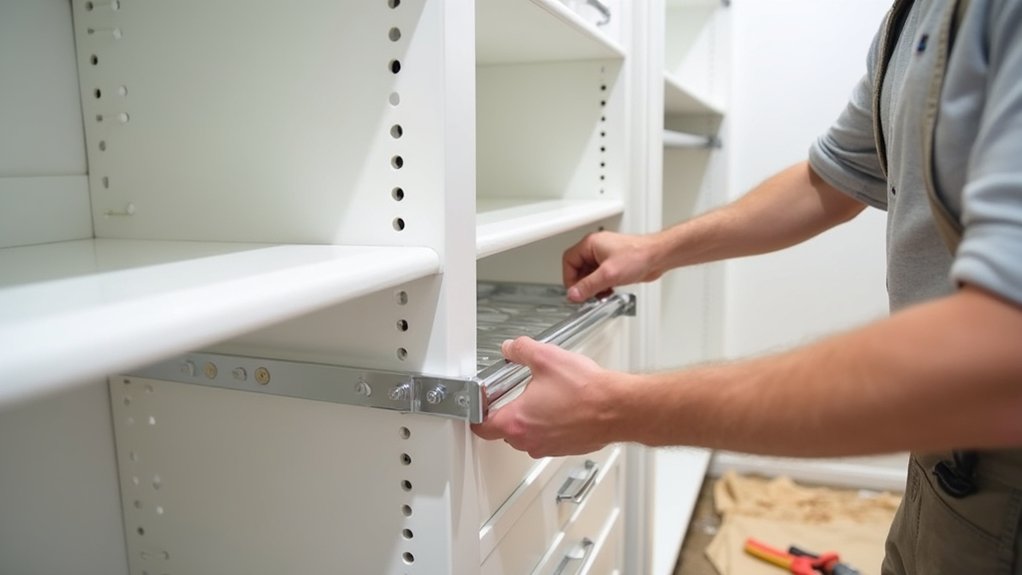
The successful installation of custom closet shelving hinges on establishing a robust support structure as your foundation. You’ll need to choose between brackets, cleats, or track systems based on your desired shelf stability and load requirements. Consulting hardware stores can provide valuable guidance on selecting the right materials and support options for your project. For optimal stability when mounting track systems, position the rails at 75 3/4 inches from the floor.
| Support Type | Installation Method | Weight Capacity |
|---|---|---|
| Brackets | Stud-mounted/anchored | Medium |
| Cleats | Direct stud attachment | High |
| Track Systems | Rail-mounted standards | Adjustable |
Begin by marking stud locations and establishing level lines for perfect support alignment. Pre-drill your mounting points, securing brackets or cleats directly into studs where possible. For areas without studs, use appropriate wall anchors or toggle bolts. Once your supports are firmly mounted, position your shelving material, ensuring each piece sits level and square. Test the installation incrementally with increasing weight loads to verify structural integrity before loading your items.
Adding Final Touches and Storage Solutions
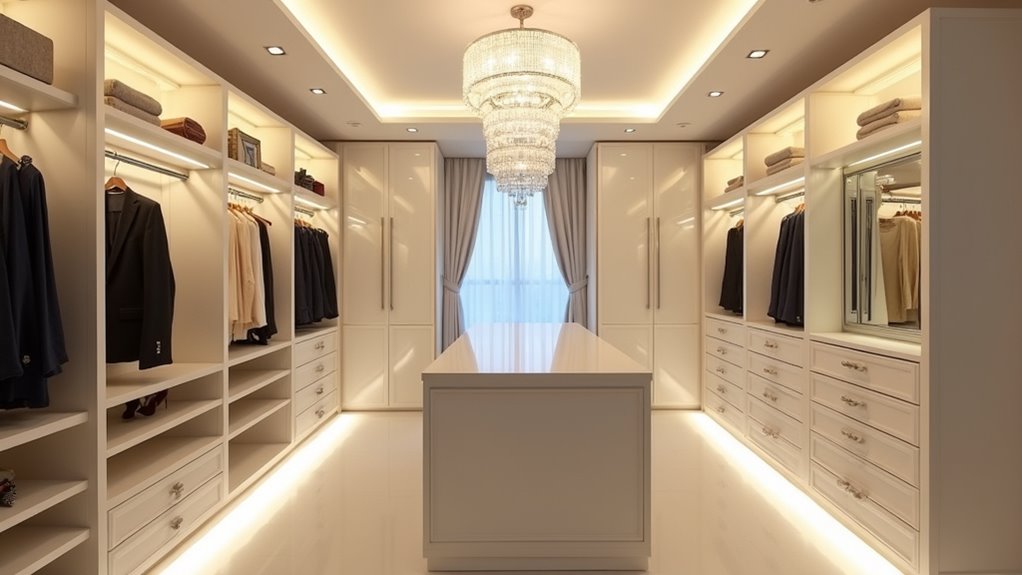
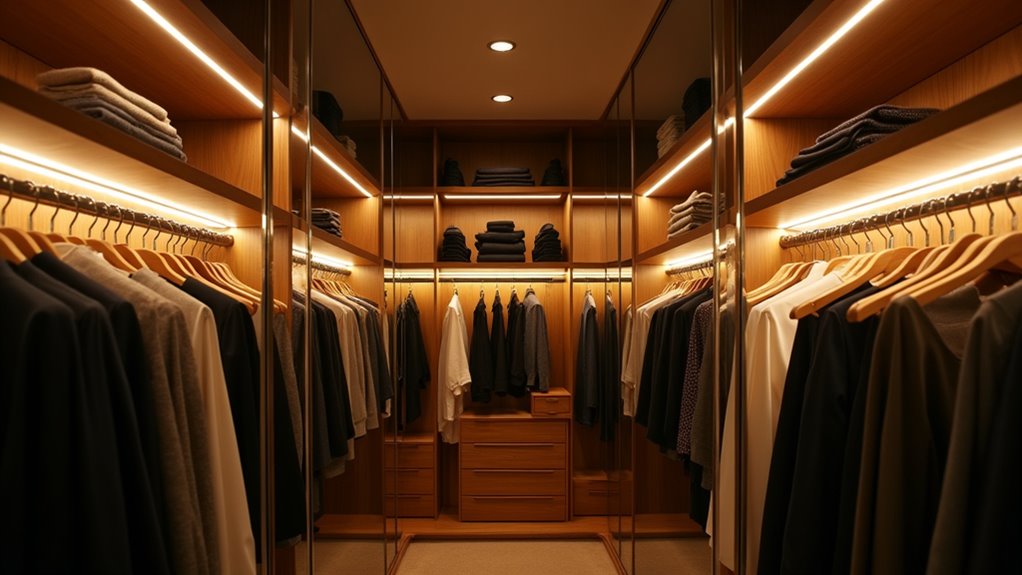
Once your core shelving structure is secure, implementing refined storage solutions and aesthetic elements transforms a basic closet into a highly functional, personalized space. Apply finishing techniques by installing uniform wooden hangers and matching organizer sets to create visual cohesion. Mount specialized storage components like belt racks, shoe cubbies, and drawer organizers to maximize utility while maintaining accessibility. Adding custom pegboard panels helps keep tools and supplies neatly organized and easily accessible. Consider adding LED lighting systems to illuminate dark corners and enhance visibility of stored items. Installing pocket doors can create additional space and improve access to your closet area.
Transform your closet from basic to brilliant with thoughtful organization, matching accessories, and strategic storage solutions that maximize every inch of space.
- Install decorative hardware and peel-and-stick wallpaper on accent walls to elevate the closet’s aesthetic appeal while maintaining functionality
- Mount over-the-door organizers and tension rods to capitalize on vertical space, effectively doubling your storage capacity
- Integrate clear storage containers with precise labeling systems to streamline item retrieval and maintain long-term organization
Position frequently accessed items at eye level, and utilize upper shelving for seasonal storage to optimize your daily routine.
Frequently Asked Questions
How Long Should I Wait for Paint to Dry Before Using Shelves?
Don’t confuse paint drying with full curing. While your shelves may feel dry to the touch in 1-2 hours for latex paint or 6-8 hours for oil-based, you’ll need to wait much longer before regular shelf usage. For ideal durability, wait 30 days for latex paint, 7 days for oil-based, or 3-5 days for alkyd hybrid paints to fully cure. You’ll prevent surface damage, tackiness, and paint transfer by allowing complete curing time.
Can I Install Custom Shelving in a Rental Property?
You’ll need to obtain landlord permissions before installing any permanent shelving in your rental. Focus on temporary installations that don’t modify the unit’s structure, such as tension rods, freestanding units, or modular systems with minimal wall anchoring. If you receive written approval for custom built-ins, document the original condition and guarantee you can restore the space when moving out. Non-permanent solutions will help you avoid lease violations and deposit deductions.
What Weight Can Different Shelf Materials Typically Support per Linear Foot?
Different shelf materials offer distinct weight capacities per linear foot: Heavy-duty wire shelving supports up to 100 lbs, while standard ventilated wire handles 75 lbs. You’ll get 20-40 lbs from 3/4″ plywood or solid wood shelves, and hardwoods can reach 50 lbs. Metal closet rods typically support 30-50 lbs, with 1-inch diameter rods handling up to 50 lbs. Remember, these capacities assume proper installation with adequate support spacing and even weight distribution.
Should Closet Doors Be Removed Permanently When Installing Floor-To-Ceiling Shelving?
You’ll need to carefully weigh the trade-offs before permanently removing closet doors. While door removal maximizes shelf accessibility and creates unobstructed access to your storage system, you might consider door alternatives like curtains or sliding panels if dust protection is essential. For floor-to-ceiling installations, removing doors often makes sense since traditional hinged doors can interfere with shelf functionality, especially in corner units or when utilizing deep shelving configurations.
How Do Humidity Levels Affect Wood Shelf Selection and Maintenance?
You’ll need to carefully consider humidity’s impact on your shelving, as it directly affects wood’s stability and longevity. For effective moisture control, choose kiln-dried lumber or engineered wood products that resist warping. Apply proper wood treatment, including sealants or water-resistant finishes, before installation. Monitor indoor humidity levels (40-60% ideal) using a hygrometer, and maintain consistent conditions with humidifiers or dehumidifiers to prevent dimensional changes and structural issues.