Start by measuring your space and cataloging what you’ll store, accounting for a 40% growth buffer. Design your cabinet’s carcass structure, floor-mounted, wall-hung, or floor-to-ceiling, then specify materials like plywood for moisture resistance or hardwood for load-bearing capacity. Plan internal configurations with dado joints set 9mm deep and shelf pin holes at 32mm intervals. Select hardware that matches your finish, incorporate full-extension slides and adjustable shelving, then verify all dimensions before cutting. The assembly sequence and installation techniques will determine your cabinet’s long-term performance.
Assess Your Storage Requirements and Available Space

Before you can specify joinery methods or select sheet goods, you must quantify exactly what you’re storing and where the cabinet will live. Measure the cubic volume of each item group, then categorize items by frequency of use; daily essentials demand prime access zones at waist height, while seasonal gear can occupy upper or lower extremes. Document special requirements: electronics need ventilation clearance, hazardous materials require NFPA-compliant compartments, and fragile items need cushioned shelving.
Next, measure your candidate location’s floor area, ceiling height, and wall length. Identify obstacles in candidate location: HVAC vents, electrical outlets, door swing arcs, and structural columns that constrain cabinet footprint. Check load-bearing limits before planning heavy drawers or suspended units. Add a 40% growth buffer to prevent premature obsolescence. If storing flammable liquids, plan for sump containment capacity to meet spill control requirements and ensure compliance with safety standards. For wall-mounted flammable storage, position the cabinet no more than 1 foot above floor level to maintain safe access and stability. Track your daily workflow by noting item storage locations and movement patterns to ensure the cabinet supports how you actually use the space.
Design the Cabinet Layout and Internal Configuration
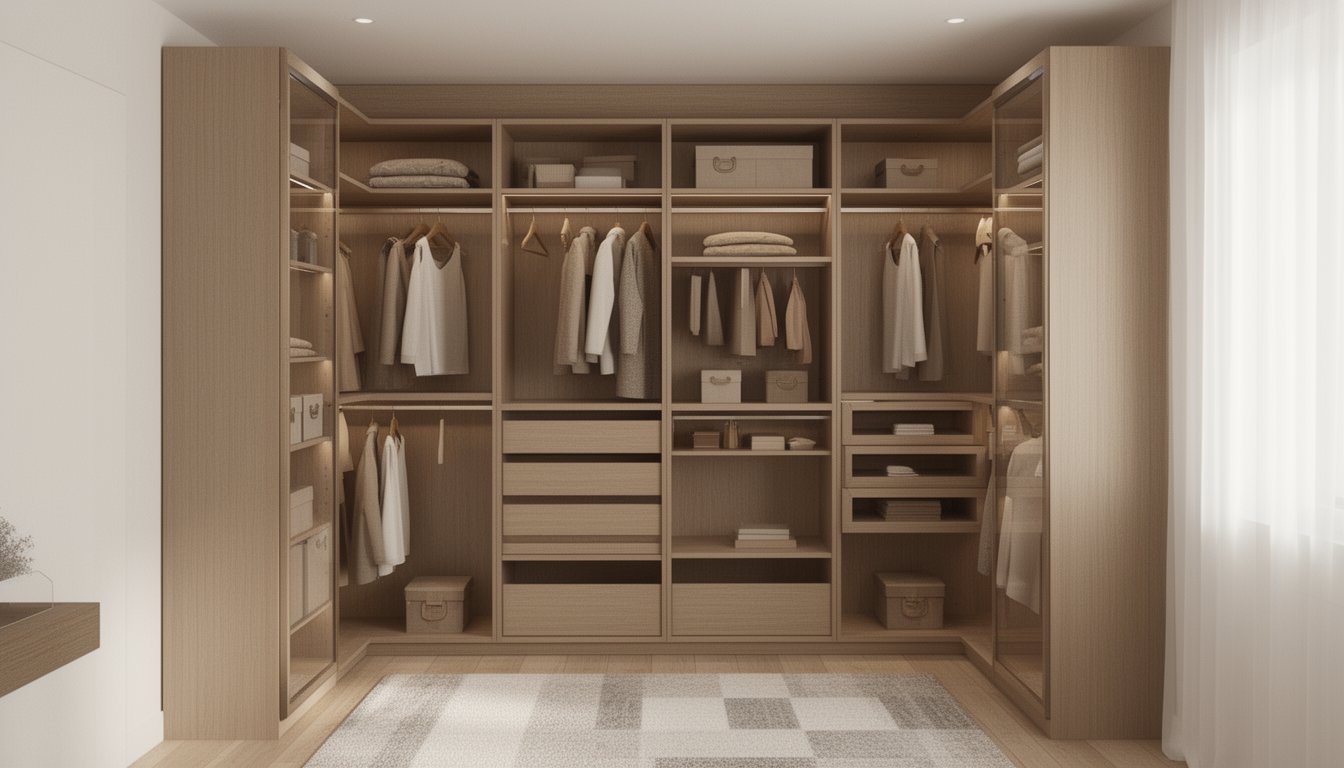
Three foundational decisions will govern every joinery cut and hardware specification in your cabinet project: whether the carcass sits on the floor, hangs from wall studs, or spans floor-to-ceiling as a built-in; whether you’ll distribute mass symmetrically across a centerline or create asymmetric zones that follow your inventory’s natural groupings; and how you’ll partition the interior volume with fixed dividers versus adjustable shelf standards.
A symmetrical or asymmetrical layout determines material yield and structural bracing. Wall-mounted units require blocking between studs rated for dead load plus fifty percent. Floor-standing carcasses need leveling feet with minimum 16mm adjustment range.
Internal configuration demands shelf pin holes drilled at 32mm increments for European standards. Cubbies or open shelving require 19mm-thick partitions with dado joints set 9mm deep. Roll-out drawer boxes use full-extension undermount slides rated per kilogram capacity. Dividing large-scale built-ins into manageable modules ensures your finished cabinet components can navigate doorways and stairwells during installation.
Choose Materials, Finishes, and Hardware
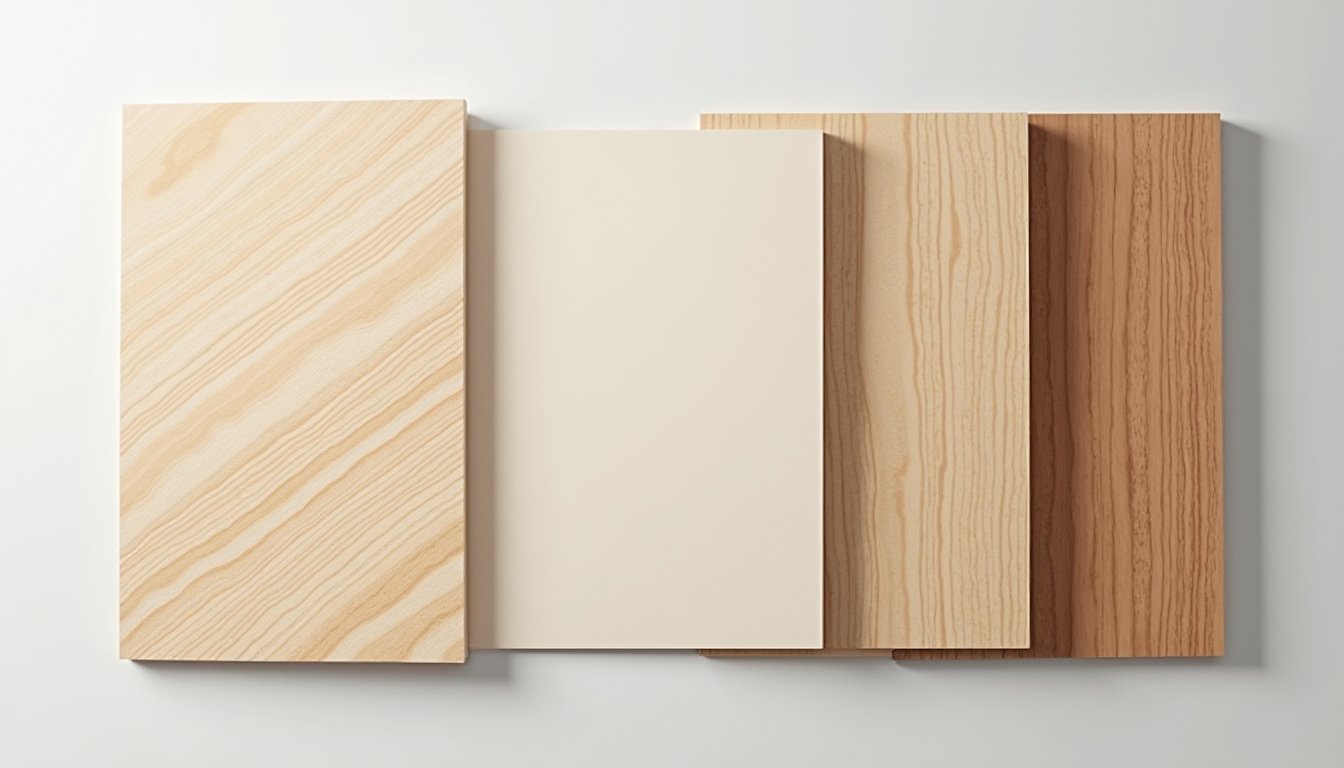
Once you’ve mapped partition locations and shelf-pin arrays, your material choices will dictate the cabinet’s load capacity, dimensional stability, and resistance to environmental stress. Select plywood for high-moisture environments due to superior warp resistance, or specify MDF for paint-grade applications requiring flawless surface preparation. Solid hardwoods like maple and oak provide maximum load-bearing capability for shelving under sustained weight.
Ensure material compatibility between substrate and finishing system, solvent-based stains penetrate hardwood grain structure, while water-based paints adhere perfectly to primed MDF. Hardware selection demands equal rigor: specify stainless steel or solid brass for longevity in high-cycle applications. Achieve finish coordination by matching hardware patina to cabinet stain undertones, brushed nickel complements cool-toned finishes, while oil-rubbed bronze harmonizes with warm wood species. Consider European-inspired hardware designs that combine sleek lines with functional elegance for a sophisticated aesthetic. For drawer assemblies, incorporate ball-bearing drawer slides to ensure smooth motion and superior load-bearing capacity under repeated use cycles. Select D-shaped pulls for wider drawer fronts to enhance grip comfort and accessibility during daily operation.
Maximize Storage Efficiency With Smart Features
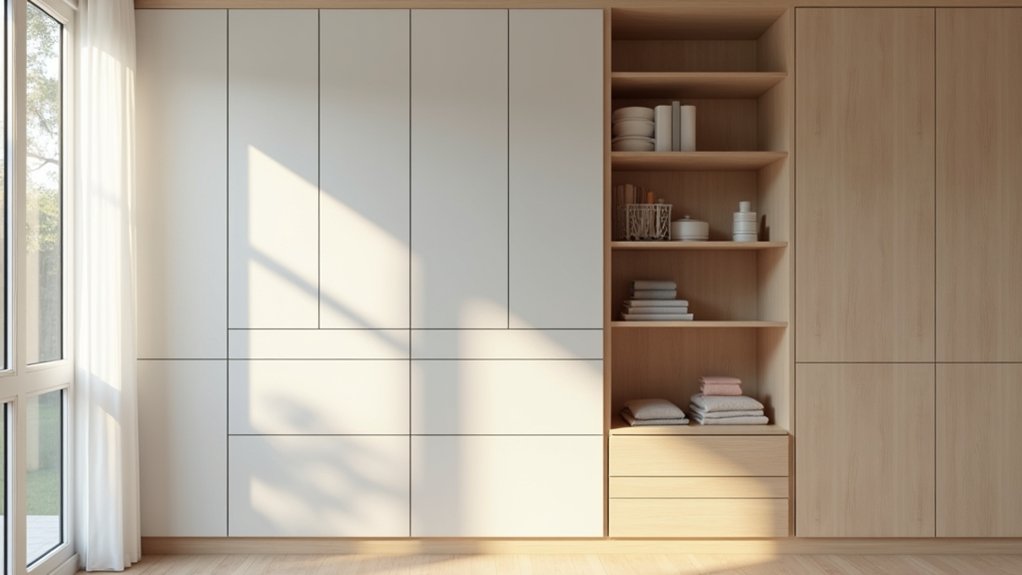
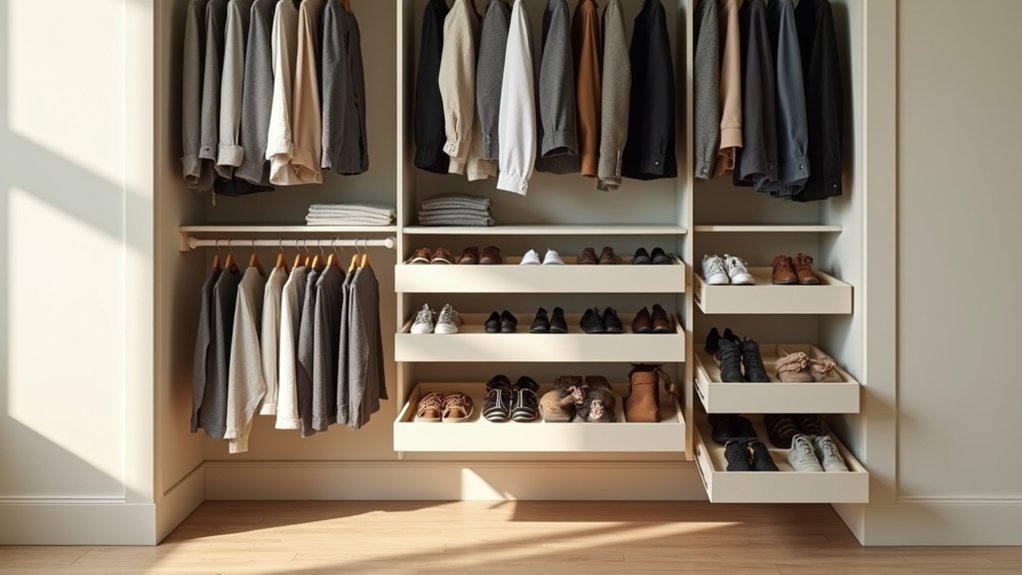
Storage efficiency hinges on strategic integration of features that exploit three-dimensional space while maintaining accessibility. Install floor-to-ceiling configurations with adjustable shelving to accommodate varying item heights. Specify full-extension drawer slides, ball-bearing or undermount systems, for complete access to rear contents without strain. Incorporate space-saving accessories like pull-out trays, corner carousels, and vertical dividers that transform dead zones into functional areas.
Deploy customizable interior organizers, including modular tray inserts, pegboard systems, and adjustable compartments that adapt as your needs shift. Recessed niches and floating cabinets preserve floor area while maximizing cubic footage. Integrate LED strip lighting on motion sensors for deep cabinet visibility. Select full-overlay door construction with concealed European hinges to eliminate wasted interior clearance. Sliding panels with concealed entryways provide hidden access to storage compartments without interrupting the visual flow of your space. Specify easy-clean melamine or powder-coated interiors that resist moisture and simplify maintenance over decades of use. Install soft-close mechanisms to ensure silent operation while protecting cabinet contents and prolonging hardware lifespan. Utilize drawer organizers for utensils and specialized compartments to maintain order in high-traffic storage zones.
Confirm Measurements and Prepare Construction Plans

Before cutting a single board, you’ll verify every dimension, width, height, and depth, at multiple points to account for wall irregularities and floor slopes. Transfer these confirmed measurements into a detailed cut list that specifies exact dimensions for each cabinet component, including face frames, panels, shelves, and backing materials. For base cabinets, measure carefully from the front edge to the back to determine the depth that will accommodate your storage needs while allowing proper clearance. Standard base cabinets use a 24-inch depth that includes countertop overhang, though you can adjust to 12-18 inches for space-constrained areas. Document your joinery methods, hardware placements, and assembly sequence to guarantee your construction plan translates accurately from paper to finished cabinet. Always record the smallest measurement when dimensions vary at different points to ensure your cabinet components will fit even in the tightest spaces.
Verify All Critical Dimensions
Accurate measurements form the foundation of any successful custom cabinet project, yet dimensional errors remain the primary cause of costly rework and installation failures. You’ll conduct field verification checks at three vertical points, top, middle, and bottom, documenting variations exceeding 1/8″. Cross check all dimensions against adjacent cabinetry and appliances before finalizing construction documents.
| Measurement Type | Standard Tolerance |
|---|---|
| Wall Cabinet Height | ±1/16″ |
| Base Cabinet Depth | ±1/8″ |
| Width (Wall-to-Wall) | ±1/4″ |
| Floor Level Variance | ±1/8″ per 10′ |
Mark cabinet outlines directly on walls using level and laser. Include filler allowances, typically 1″, 3″, at termination points. Document every deviation requiring custom joinery modifications, ensuring your fabricator receives dimensionally accurate, installation-ready specifications.
Create Detailed Cut Lists
Once you’ve verified every dimension, translate those measurements into a thorough cut list that serves as your fabrication blueprint. Organize parts effectively by grouping solid lumber, sheet goods, and hardware separately. Assign each component a part code linked to your drawings, then sort by assembly sequence or cabinet section. Record exact quantities and final dimensions, thickness × width × length, noting material type, grain direction, and edge banding requirements. Distinguish finished sizes from rough stock, adding material for milling tolerances and joinery adjustments. Mark non-rectangular or angled cuts explicitly. Use digital cutlist software to generate optimized sheet layouts that streamline workflow and reduce errors. Batch identical parts together, pre-mark waste areas, and label stock directly with chalk or stickers. Reserve 5, 10% extra material for unforeseen issues.
Document Assembly and Hardware
After finalizing your cut list, you’ll transform raw dimensions into a detailed assembly roadmap that governs every joint, fastener, and hardware placement throughout construction. Start by creating construction drawings showing overall layout, elevations, and section views that illustrate joinery relationships and panel connections. Specify all part dimensions, material thickness, and hardware clearance allowances on these diagrams.
Mark pocket-hole locations every 6″-8″ along joints, drilling pilot holes to safeguard against splitting during assembly. Your screw selection must match board thickness, typically 1.25″ screws for 3/4″ panels. Verify hardware compatibility with your chosen materials before purchase. Include reference marks for shelf pin holes, maintaining consistent spacing for adjustable shelving. Document corner brace locations in load-bearing zones, and pre-label all components for efficient assembly. This preparation eliminates guesswork and maintains structural integrity.
Build and Assemble Your Custom Cabinet
Building your custom cabinet demands precision at every connection point, starting with the side panels that form the structural foundation. Cut quality plywood or hardwood to exact dimensions, ensuring edges are square and smooth. Attach 2×2 supports using glue and pocket hole screws, maintaining 90° angles with a speed square for secure panel attachment.
Precision-cut side panels with square edges establish your cabinet’s structural integrity, secure with glued 2×2 supports and pocket screws at exact 90° angles.
Fit top and bottom rails between sides, fastening with 2.5-inch pocket screws. Inspect frame alignment using parallel measurements; misalignment compromises function. Test stability by checking for flex.
Install shelves at predetermined heights using pocket screws from underneath. Add 1×2 front lips to prevent sliding. Level each shelf before ultimate fastening.
Attach the back panel face-down, drilling pilot holes every 4, 6 inches. Drive 1.25-inch screws to eliminate rack. Lastly, mount hinges and hardware, adjusting doors for smooth operation.
Install, Adjust, and Apply Final Touches
With your cabinet fully assembled, transport it carefully to its intended location and begin the installation process by establishing level reference lines on the wall. Mark base cabinets at 34.5 inches and upper units at 54 inches using a laser level. Locate wall studs and drive long cabinet screws through the hanging rail, securing anchors directly into structural members. Use wood shims beneath the cabinet to compensate for uneven floors, balancing tolerances while checking plumb in all directions with a carpenter’s level.
Clamp adjacent units together and pre-drill joinery holes before inserting joint connectors. Once alignment is confirmed, tighten all fasteners completely. Attach trim angles to cover raw edges, install drawer faces using horizontal filler boards, and insert plastic hole plugs over exposed screw heads for a professional finish.
Frequently Asked Questions
How Much Does It Typically Cost to Build a Custom Storage Cabinet?
You’ll typically spend $500, $1,200 per linear foot for custom storage cabinets. Material costs drive your budget enormously: MDF runs $300, $400 per foot, while cherry reaches $500, $700. Labor expenses add another 30%, 50% to material costs, reflecting skilled joinery and installation precision. For a standard 20-linear-foot kitchen project, expect $6,000, $14,000 total. Hardware upgrades, dovetail joinery, and complex millwork can push costs higher, while simple utilitarian designs stay on the lower end.
Do I Need Special Tools or Woodworking Experience to Build Cabinets?
You don’t need extensive woodworking experience; basic measuring and cutting skills suffice. The power tools required include a circular or table saw, drill/driver, and orbital sander; a pocket hole jig simplifies joinery considerably. Woodworking skills needed focus on accurate measurement, achieving square assemblies with clamps, and making clean plywood cuts using fine-toothed blades. Beginners can successfully build cabinets using pocket-screw joinery instead of advanced techniques like dovetails or mortise-and-tenon joints.
How Long Does It Take to Complete a Custom Cabinet Project?
You’ll typically need 4, 12 weeks to complete your custom cabinet project, though complex builds can extend to 20 weeks. Cabinet design considerations, including joinery methods and panel configurations, consume 2, 7 weeks during consultation and finalization. The material selection process adds 1, 3 weeks, especially when sourcing hardwoods like walnut or quarter-sawn oak. Fabrication dominates the timeline at 4, 8 weeks, while installation requires 1, 7 days for mounting, shimming, and hardware attachment.
Should I Hire a Professional or Build the Cabinet Myself?
Consider your available DIY skills in cutting joinery, dovetails, mortise-and-tenon, and dado joints require precision tools and experience. Weigh the cost-benefit of professional vs. DIY: professionals deliver superior material selection (hardwood plywoods, solid lumber grades) and flawless edge-banding, while DIY saves labor costs but risks misaligned carcass construction. If you’re proficient with table saws and possess router expertise, DIY works. Otherwise, hiring professionals guarantees tight tolerances and lasting joinery integrity.
What Building Codes or Permits Are Required for Custom Cabinets?
Most custom cabinet installations don’t require permits unless you’re modifying electrical, plumbing, or structural elements. However, you’ll need to verify local zoning regulations with your building department, as requirements vary considerably. Built-in cabinetry often triggers building permit requirements if it involves wall alterations or affects egress routes. Your installation must comply with IRC/IBC clearance standards and ANSI/KCMA material specifications. Always confirm jurisdiction-specific rules before cutting joinery or anchoring cabinet boxes to avoid costly rework or compliance issues.