You’ll need precise measurements and proper planning to build a custom closet organizer that maximizes your space. Start by capturing exact dimensions at three points along each wall, allowing 24 inches minimum depth for hanging clothes and 48 inches width for single rods. Use 3/4-inch plywood for load-bearing components, mount support rails into wall studs, and install double hanging rods at 42 and 84 inches. These foundational steps reveal the full potential of your custom storage solution.
Measuring Your Space: The Foundation of Success
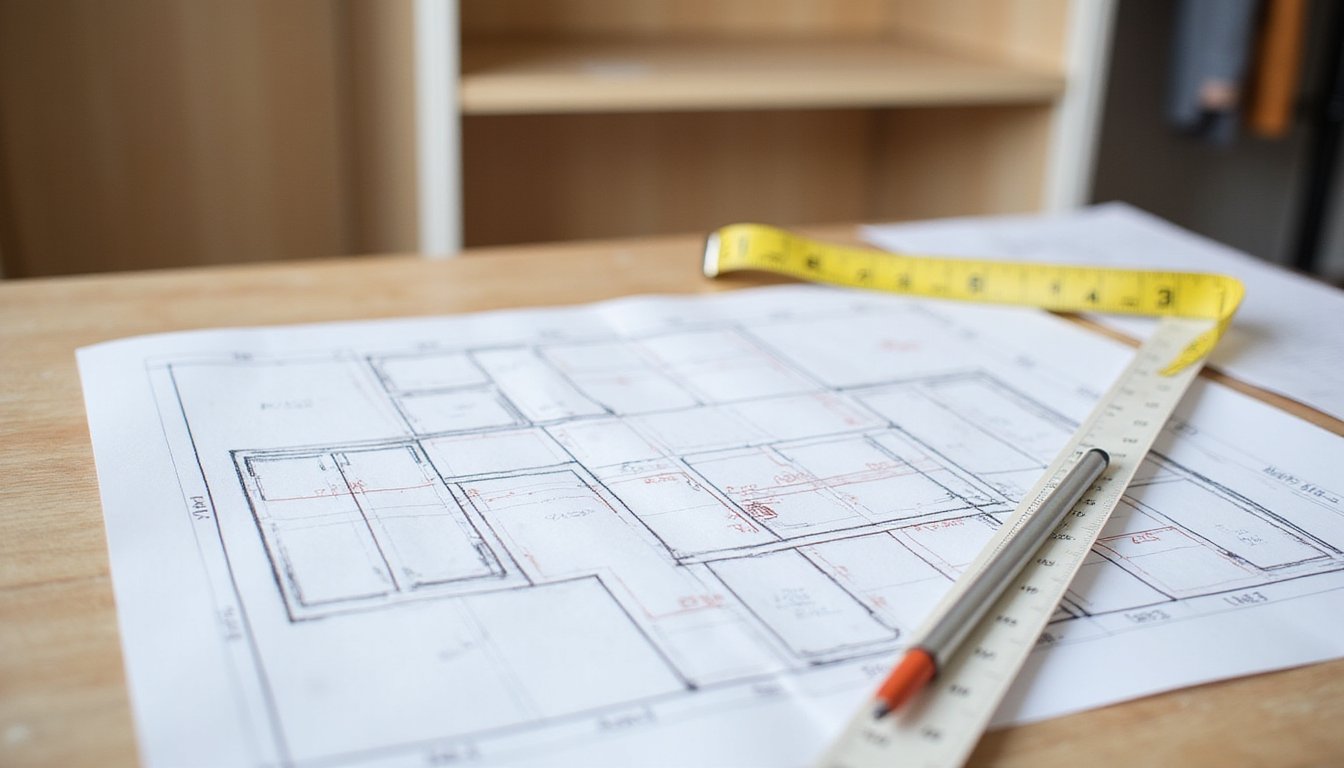
Precise measurements serve as the cornerstone of any successful custom closet project. You’ll need to capture exact space dimensions by measuring the width, height, and depth at three different points along each wall, using the smallest measurements to guarantee proper fit. For measurement accuracy, account for baseboards, electrical outlets, and any structural protrusions. Installing minimalist designs can create a modern, organized aesthetic in contemporary spaces.
For a functional design, verify you’ve got at least 24 inches of depth for hanging clothes, and confirm that your width accommodates the minimum requirements: 48 inches for single rod sections and 36 inches for double rod arrangements. Consider installing adjustable shelving to maximize storage potential in your available space. If you’re planning a walk-in closet, verify you have at least 5 x 5 feet of space. Creating proper clearance zones of at least 90 centimeters between opposing shelves will ensure comfortable access to your storage. Document all measurements in a detailed floor plan, marking obstacles and existing features that could impact your storage solutions.
Designing Your Dream Layout
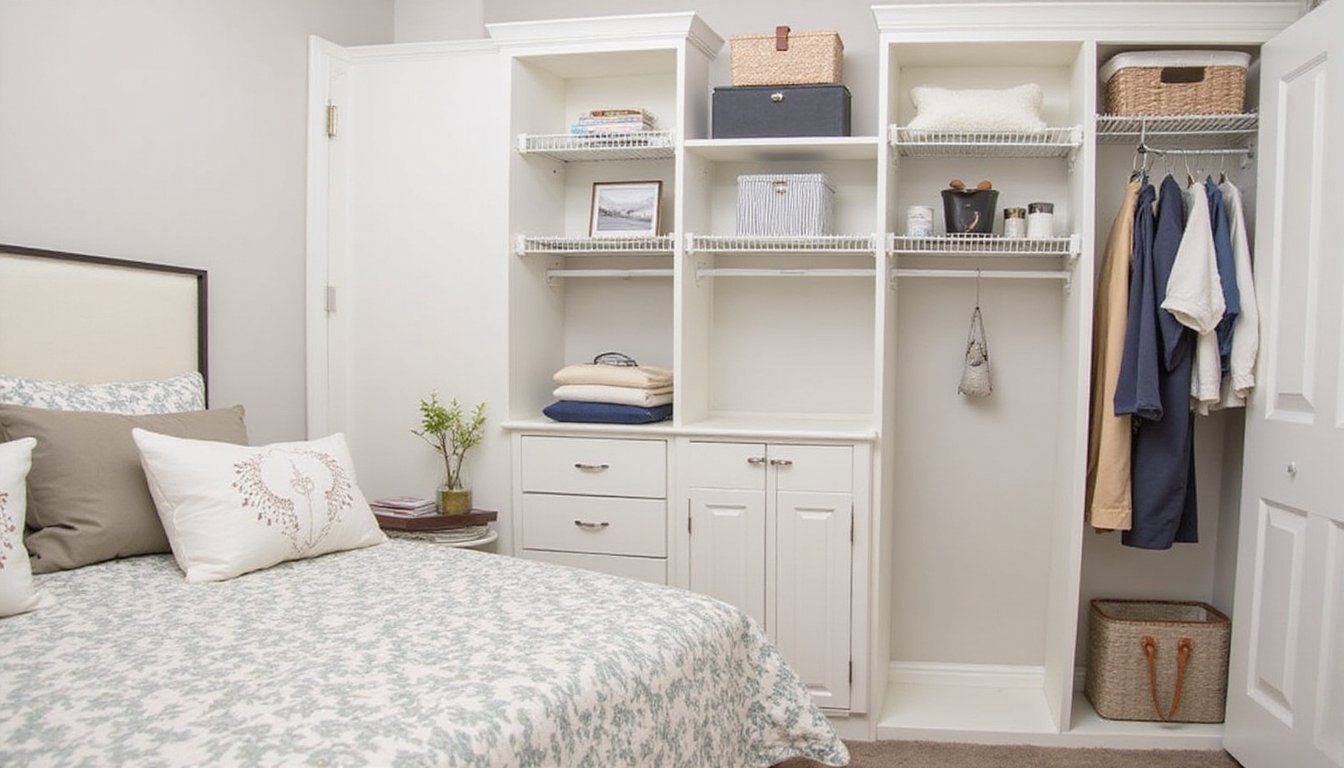
Three fundamental principles guide an effective closet layout: zoning, accessibility, and vertical optimization. Start by dividing your space into activity zones based on your daily routines, placing frequently used items at eye and waist level. Position seasonal items on upper shelves to maximize prime storage areas. Consider integrating multifunctional storage pieces to optimize your available space. Incorporate soft-close hardware on drawers and doors to enhance safety and prevent slamming. Push clothing rods into usable corners to maximize hanging space efficiency.
Install floor-to-ceiling shelving with double hanging rods at 84 inches high, and space shoe shelves 6-7 inches apart vertically. Guarantee 24 inches of depth for hanging clothes and 12 inches between shelves for folded items. Allow 1 inch spacing for shirts, 1¼ inches for pants, and 2-3 inches for jackets on rods.
Incorporate LED lighting above clothing sections and use glass-fronted drawers or open shelving to enhance visibility. Install adjustable components to adapt as your storage needs change.
Choosing Materials and Tools

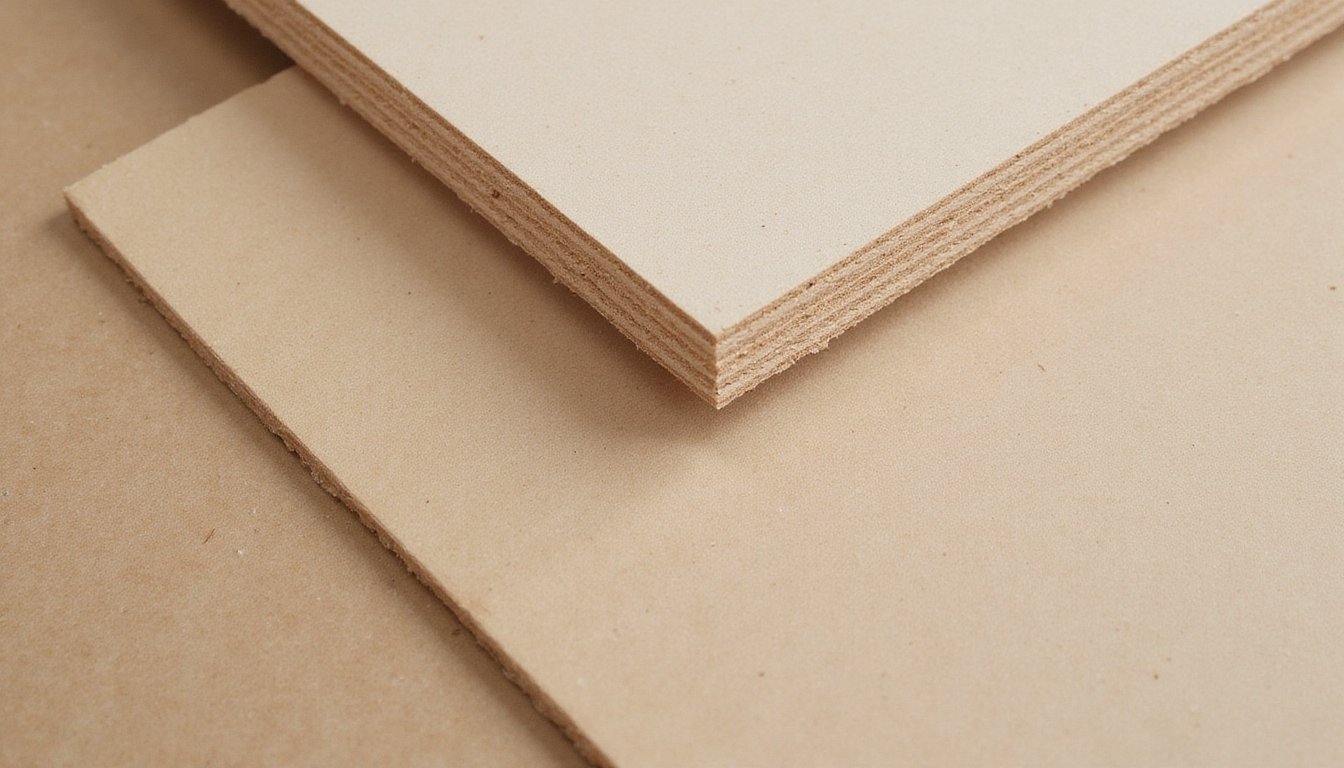
After finalizing your layout, selecting the right materials and tools will determine your closet’s durability and structural integrity. For load-bearing components like shelving and support structures, choose 3/4-inch plywood for its superior material durability and warp resistance. Use melamine or MDF for non-load-bearing panels, considering their smooth finish and cost-effectiveness. Regular maintenance and inspection will help ensure your closet organizer maintains its long-term functionality. With a total investment of about two thousand dollars, you can create a custom closet system that rivals professional installations costing five times as much.
You’ll need essential power tools: a table saw for large panels, a miter saw for precise angles, and an impact driver for secure assembly. Don’t overlook quality hardware – sturdy brackets, closet rods, and fasteners are vital for long-term stability. Remember to position the closet rod at 12 inches from wall for optimal hanging space. Verify you’ve got accurate measuring tools, including a level and stud finder, for proper installation. For a polished look, invest in edge banding or trim to conceal exposed edges and match your desired aesthetic.
Building Your Custom Components
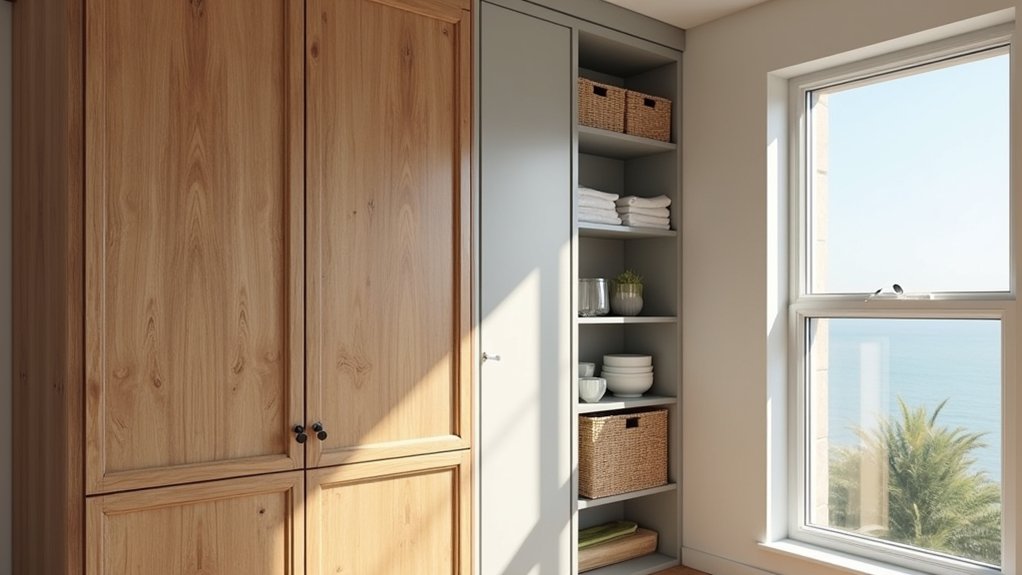
Successful construction of your custom closet components begins with the systematic assembly of the core elements. Start your shelf construction using 3/4″ thick melamine or wood boards, guaranteeing proper support through wall-mounted brackets or cleats. You’ll need to space shelves at ideal heights: 12-15″ for shoes and 8-10″ for folded clothing. Choose melamine boards for their moisture-resistant surface, making them ideal for everyday use and long-term durability. The melamine’s affordable price point makes it an excellent choice for larger closet builds with multiple components. Wire closet systems should be avoided since they have limited storage capacity and can damage delicate clothing items.
For drawer assembly, select robust materials and incorporate full-extension slides for maximum accessibility. Build drawer boxes using dovetail or mechanical joints to guarantee structural integrity, and install specialized compartments for accessories. Mount hanging rods at 42″ for shirts and 84″ for long garments, using heavy-duty brackets to prevent sagging. Connect all components using pre-drilled panels and high-quality hardware, including cam locks and rust-resistant screws rated for your expected loads.
Installing and Organizing Your New Space
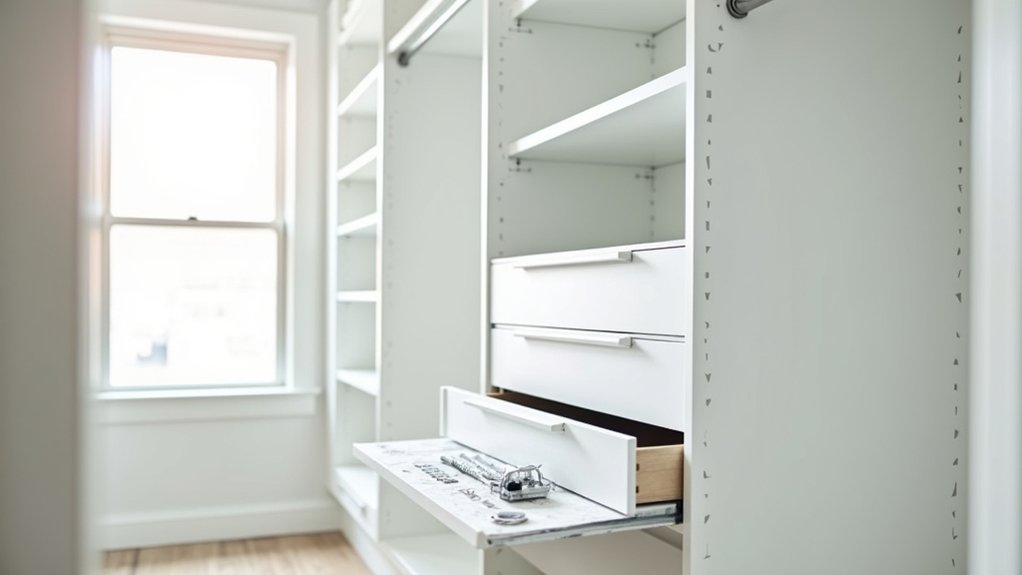
Before beginning the physical installation, proper preparation guarantees efficient assembly of your custom closet system. Start by inventorying all components and marking stud locations for secure anchoring. You’ll need a drill, level, and measuring tape ready. The total process typically requires 8 hours to complete with two people working together.
Critical installation tips: Mount support rails at manufacturer-specified heights, securing them directly into wall studs. Pre-drill holes for hardware placement and verify vertical supports are perfectly level. Install adjustable shelving and rods with appropriate locking mechanisms, confirming stability before loading.
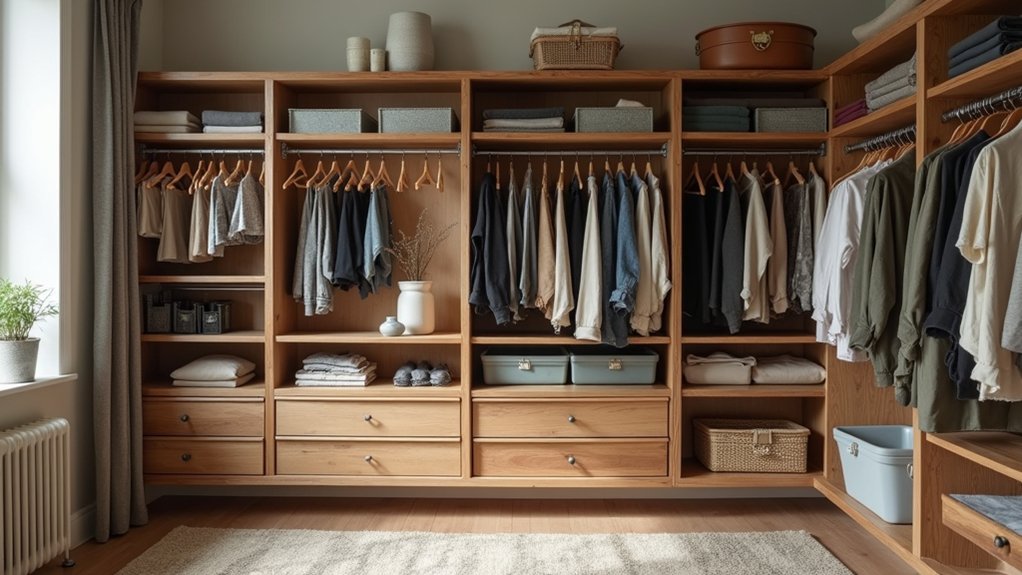
For organization strategies, categorize items by type and frequency of use. Position high-use items at easily accessible heights. Utilize adjustable features to maximize vertical space, grouping similar garments together. Install specialty components like pull-out baskets or shoe racks to enhance functionality. You’ll maintain ideal organization by regularly reassessing your storage needs and adjusting components accordingly.
Frequently Asked Questions
How Long Does a Custom Closet Organizer Typically Last Before Needing Replacement?
You can expect your custom closet organizer to last 15-20 years with proper care, markedly outperforming pre-fabricated systems. Material durability plays an essential role – melamine and solid wood components maintain structural integrity longer than particle board. To maximize lifespan, follow these maintenance tips: regularly inspect hardware connections, avoid exceeding weight load ratings, and clean surfaces according to manufacturer specifications. Many high-end systems include lifetime warranties, covering both materials and installation.
Can I Build a Custom Closet Organizer in a Rental Property?
Yes, you can build a custom closet organizer in your rental, but you’ll need to focus on non-permanent solutions due to rental restrictions. Opt for freestanding modular systems that don’t require wall attachments or structural modifications. Your customization options include stackable units, adjustable tension rods, and free-standing drawer systems. Make certain your chosen components maintain structural integrity through proper weight distribution and stability, while adhering to your lease agreement‘s terms regarding property modifications.
What’s the Average Cost per Square Foot for Custom Closet Materials?
You’ll find custom closet material costs ranging from $17 to $50 per square foot, with most installations falling between $25 to $35. Your material types greatly impact pricing – MDF, melamine, and laminate represent lower-cost options, while solid wood and premium finishes push costs higher. When factoring in installation costs, you’re looking at $78.50 to $109 per square foot total. Material upgrades like built-in lighting and specialized hardware can increase costs by 15-30%.
Should I Remove Existing Closet Doors Before Starting the Project?
Yes, you’ll want to remove your closet doors during project preparation. Door removal provides unobstructed access to interior surfaces, enabling precise measurements and proper alignment of tracks, brackets, and mounting hardware. It’s essential for maintaining structural integrity when installing vertical panels and horizontal supports. You’ll have better visibility for leveling components and securing fasteners to wall studs. Consider storing doors safely if you plan to reinstall them later.
Can Custom Closet Organizers Be Safely Dismantled and Relocated to Another Home?
Yes, you can safely relocate most custom closet organizers, especially modular rail-based systems. When applying proper dismantling techniques, carefully remove components by unscrewing mounting hardware and labeling each piece. Consider relocation considerations like wall dimensions, anchor points, and load capacities in your new space. You’ll need to verify the structural integrity of materials, particularly MDF or particleboard components, which may weaken after disassembly. Document your original layout for precise reassembly.