To install your custom closet system, start by measuring your space and sketching a detailed layout that accounts for your storage needs. Next, locate and mark wall studs at 84 inches height, then install the support framework by mounting level hang tracks across the closet width. Finally, assemble and secure your components, including fixed shelves, rods, and adjustable elements. These foundational steps will set you up for a successful installation with lasting results.
Planning and Measuring Your Space
Three essential steps form the foundation of a successful custom closet installation: evaluating your storage requirements, taking precise measurements, and creating a detailed space plan.
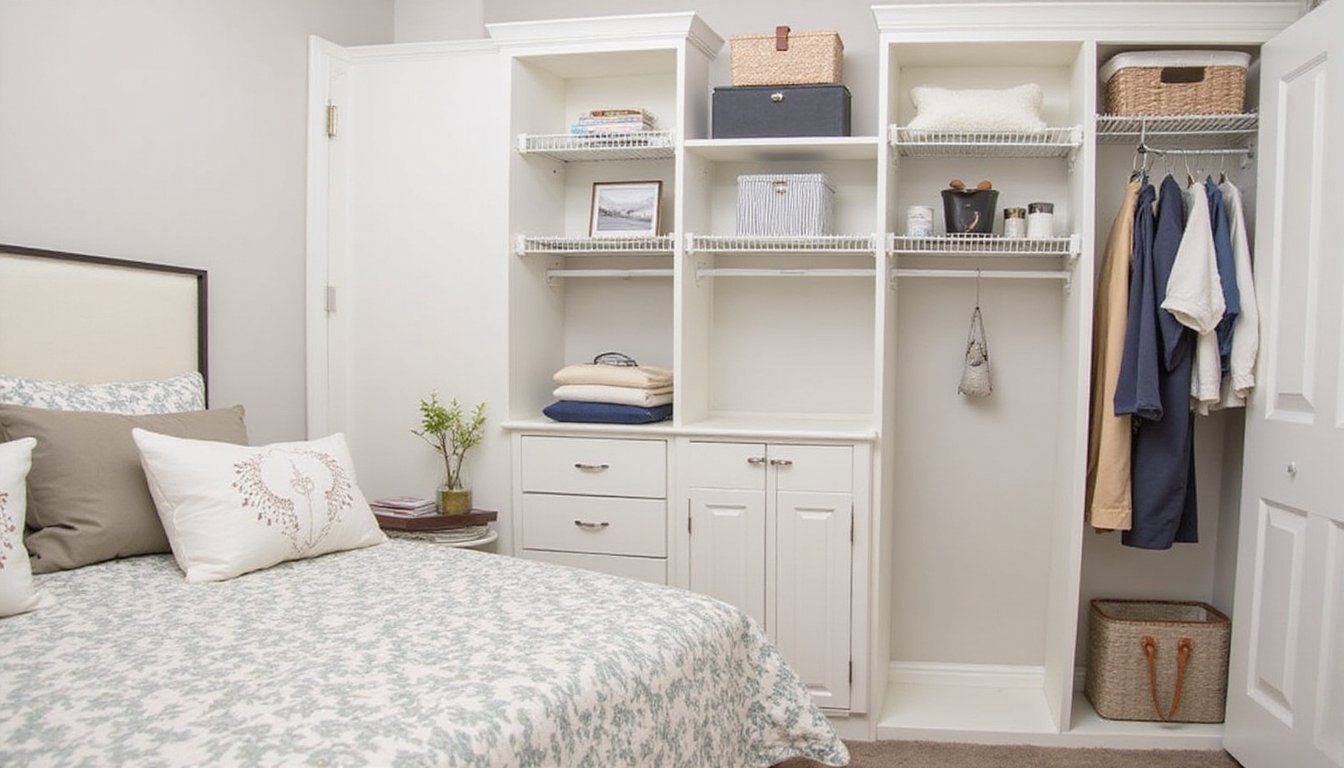
Begin with a thorough inventory assessment of your clothing, shoes, and accessories. Note which items need hanging space versus folded storage, and identify special requirements for long garments or bulky items. Since pants require up to 50 inches vertical, plan hanging sections accordingly. Consider installing shelf and rod systems for maximum efficiency and organization. Next, measure your closet’s dimensions precisely, including height, width, and depth. Don’t forget to mark utility locations and door swings that could affect your layout. Using graph paper sketches helps create accurate visual representations of your available wall space.
Finally, focus on space optimization by sketching your closet to scale. Block out areas for different storage types, ensuring frequently used items remain easily accessible. Plan for adjustable components that’ll adapt to your changing needs, and include extra capacity for future additions.
Installing the Support Framework
Proper installation of your closet’s support framework begins with precise stud location and secure mounting of hang tracks. Use your stud finder to locate wall studs, typically at 16″ stud spacing, and mark their centers at 84″ height. You’ll need these marks to guarantee your system has maximum stability. For optimal rod placement, ensure vertical panels are positioned 42 inches above the floor to accommodate double hanging rods.
| Step | Action | Key Check |
|---|---|---|
| 1 | Mark stud centers | Verify 16″ spacing |
| 2 | Mount hang tracks | Level across width |
| 3 | Attach vertical panels | Check for plumb |
| 4 | Install brackets | Confirm engagement |
Once you’ve secured the tracks with appropriate fasteners, install your vertical panels, keeping them plumb and properly spaced. Add brackets at maximum 48″ intervals, ensuring they’re fully seated in their slots. Test the framework’s stability before moving forward by applying gentle pressure to verify all connections are secure.
Assembling and Securing Components

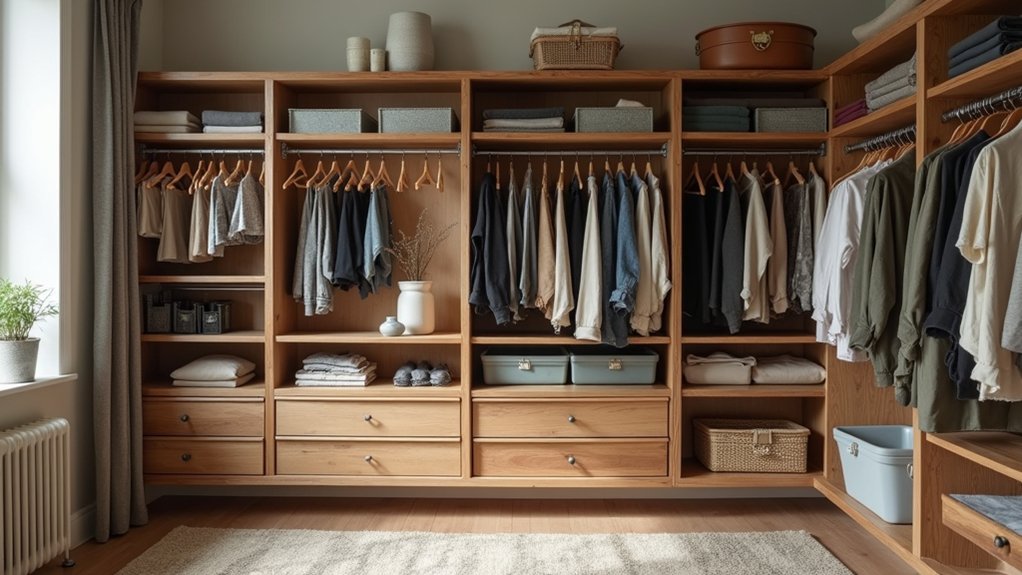
With your support framework firmly in place, you’ll now focus on assembling the individual components that make up your custom closet system. Start with shelf assembly techniques, working methodically from one end to verify proper alignment and stability. Just like websites employ security measures to protect their systems, proper installation techniques safeguard your closet’s integrity. The entire installation process typically takes eight hours with two people working together.
- Install fixed shelves using connector dowels and cams, turning them snugly with a screwdriver – never use a power drill for these delicate components
- Mount closet rod installation rails either to cabinets or directly into wall studs, using appropriate anchors when needed
- Level and align all vertical panels using rear adjusting screws, checking for straightness before securing connectors completely
- Add adjustable shelves, rods, and finishing touches like cover caps and edge trim once main components are secure
Remember to check each connection point for stability and avoid over-tightening, which can damage materials or compromise structural integrity.
Frequently Asked Questions
How Do I Protect My Clothes During a Closet System Installation?
To protect your clothes during installation, you’ll need reliable clothing protection methods. Move your garments to a clean, dry room and store them in sealed plastic bins or vacuum bags. Don’t forget to use temporary garment bags for hanging items. If you’ve got valuable pieces, consider professional storage services. For closet installation tips, schedule work during dry weather and thoroughly seal gaps before beginning to prevent dust contamination.
Can I Install a Closet System on Textured or Uneven Walls?
Yes, you can install a closet system on textured or uneven walls, but you’ll need proper preparation. Start by skim coating your walls to create a smooth surface, which guarantees better contact for installation techniques and wall anchors. If complete smoothing isn’t possible, use shims behind mounting brackets to level your system. For severely uneven walls, consider floor-mounted options or consult a professional installer to assure your system’s stability and safety.
What’s the Weight Limit for Hanging Items on Closet Rods?
Your closet rod’s weight limit depends on its material and how you distribute the load. Standard steel rods (1-inch) can hold 50 lbs per linear foot, while wooden rods (1 3/8-inch) support up to 100 lbs. Aluminum rods handle 55-80 lbs, and telescopic rods manage 20-30 lbs. You’ll get the best performance by spreading clothes evenly and using center supports for rods longer than 4 feet. Don’t exceed manufacturer specifications for safety.
Should I Remove Baseboards Before Installing the Closet System?
Yes, you should remove your baseboards before closet installation. This allows the system’s panels and uprights to sit completely flush against the wall, ensuring maximum stability and a cleaner appearance. If you leave baseboards in place, you’ll likely face alignment issues, unsightly gaps, and compromised structural integrity. While it’s possible to notch around baseboards, it’s not recommended – you’ll get better results with complete baseboard removal and proper wall anchoring.
How Do I Childproof Drawers and Doors in My Custom Closet?
You’ll want to install magnetic or adhesive drawer locks to secure your closet storage without drilling. Add soft-close mechanisms to prevent pinched fingers, and place corner guards on drawer edges at child height. Don’t forget to secure tall units with anti-tip straps and adjust shelving heights beyond young children’s reach. For maximum child safety, combine multiple security features and regularly check that locks remain effective as your kids grow and develop new abilities.